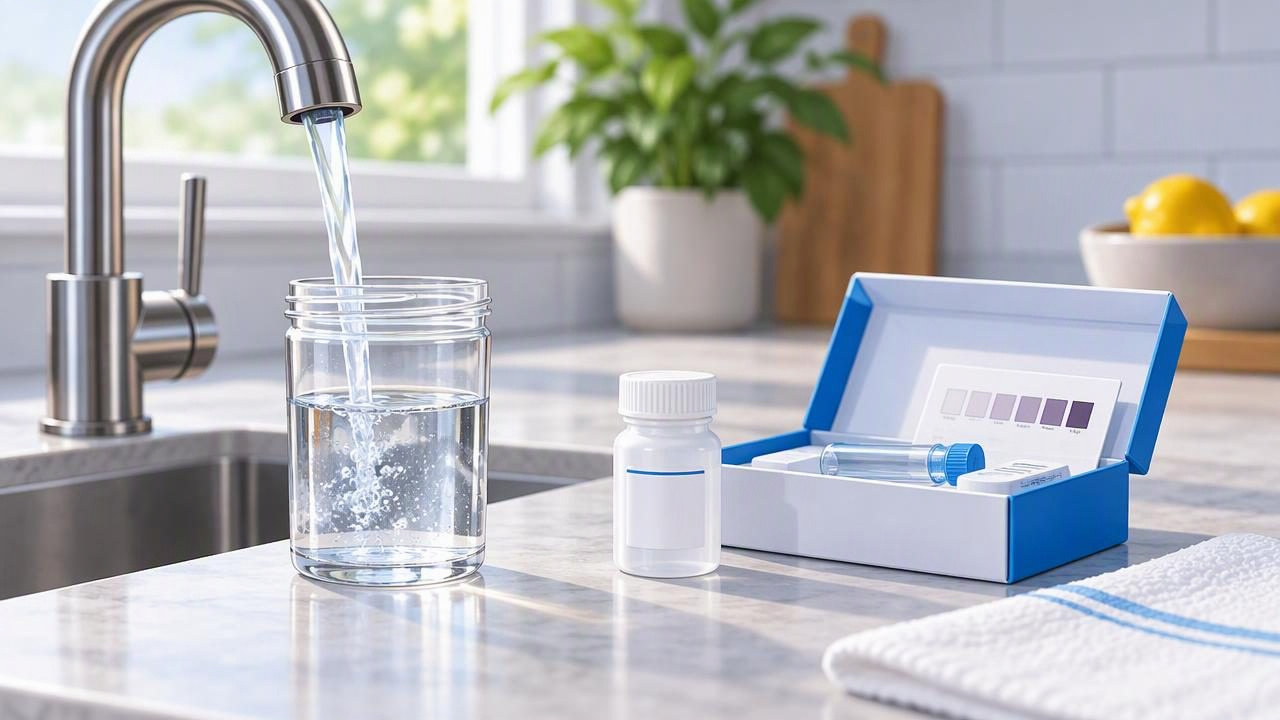
Lead in drinking water is difficult to detect without a test. It has no reliable taste, smell, or color, and boiling water does not remove it. Even if a water utility meets applicable drinking water requirements, lead can enter water as it travels through older service lines, plumbing, solder, or fixtures inside a building.
For South Florida homeowners, the best way to understand what is coming from a particular tap is to test that water using a qualified laboratory and a carefully collected sample. This guide explains how to test for lead in drinking water, how to interpret the results, and what to do if lead is detected.
Why Test Your Tap Water for Lead?
Lead exposure can be harmful, especially for infants and children, and there is no known safe level of lead exposure for children. The risk depends on the amount of lead, how often someone is exposed, and other factors. A drinking-water test can identify whether lead is present in a specific sample, but it cannot measure a person’s total exposure from all sources.
Lead may enter water when it contacts lead-containing materials. Potential sources include a lead service line, older lead pipes, lead solder used in plumbing, and some brass fixtures. The water utility’s treatment process may reduce corrosion, but conditions in a home’s plumbing can still affect what comes out of an individual faucet.
Testing is worth considering if your home has older plumbing, you are unsure what materials were used, or you are planning renovations that affect water lines. Renters can ask the property manager about plumbing materials and request testing. A utility’s water quality report is useful for learning about the system’s water, but it does not necessarily show lead levels at your own tap.
How to Test for Lead in Drinking Water
The most dependable approach for a homeowner is to arrange testing through a laboratory certified to analyze drinking water for lead. Home test kits can be convenient for screening, but results may depend on the kit’s method and instructions. If you need a reliable measurement, choose laboratory analysis and follow the lab’s sampling directions exactly.
- Contact your water utility. Ask whether it offers lead testing, maintains information about service-line materials, or can recommend a qualified laboratory. Utilities may also explain how to request a sample kit.
- Choose a certified laboratory. Ask specifically whether the lab is certified for lead analysis in drinking water. In Florida, check with the state’s environmental laboratory certification resources or ask your local health department or utility for guidance.
- Clarify what the sample is meant to show. A first-draw sample can help assess water that has been sitting in plumbing. A flushed sample may answer a different question. Tell the lab about your concern and follow the sampling plan it recommends.
- Use the lab’s clean container and instructions. Do not rinse a supplied bottle unless the directions tell you to. Avoid touching the inside of the cap or bottle, and do not collect a sample from a filtered dispenser unless that is the specific point you intend to test.
- Return the sample as directed. Follow the lab’s requirements for timing, storage, labeling, and delivery. Improper handling can make a result less useful.
First-Draw Testing and Flushed Samples
For a first-draw sample, the laboratory may ask you not to use water from the selected tap for a set period, often at least six hours. The sample is then collected before water is run from that faucet. This can reveal lead that has accumulated while water stood in the fixture or nearby plumbing.
A flushed sample is collected after water has run for a specified time. It can help investigate whether lead may be coming from other parts of the plumbing or service line. The exact procedure varies, so do not create your own sampling method or combine instructions from different sources. A lab or utility can advise whether one sample or multiple samples are appropriate.
Consider testing the cold-water tap used for drinking or cooking. Hot water can dissolve lead more readily from plumbing materials, so use cold water for consumption and heat it separately if needed. If you want to understand differences between taps, test them as separate samples and label each one clearly.
Can a Home Lead Test Kit Be Trusted?
Some consumer kits provide a quick indication, but they may not give a precise concentration or identify the source. Read the kit’s detection limit, confirm it is intended for drinking water, and follow every step. A negative screening result does not always rule out lead, particularly if sampling was inconsistent or the kit cannot detect low levels.
For decisions involving a child’s drinking water, a property transaction, plumbing repairs, or a result close to a guideline or regulatory benchmark, laboratory testing is generally more informative. If a kit produces a positive or unclear result, confirm it with a certified lab rather than relying on a color change alone.
Understanding Your Lead Test Results
Review the result in the units shown, commonly micrograms per liter (µg/L) or parts per billion (ppb). For water, these units are numerically equivalent. Check the laboratory report for its detection limit, the sample type, and any notes about collection or analysis. If anything is unclear, ask the lab to explain it before deciding what the result means.
There is no single household test result that tells every family exactly how much risk exists. Public water regulations and utility sampling rules are designed for water systems; they are not a guarantee that every tap in every home has the same level. If lead is detected, or if you are concerned about exposure, contact your utility, local health department, or a qualified plumbing professional for advice on follow-up testing and possible sources.
A useful next step is to compare samples from different locations or collect repeat samples using the lab’s instructions. Lead levels can vary with stagnation time, water use, and plumbing conditions. One sample is a snapshot, not a complete map of a building’s plumbing.
What to Do if Lead Is Found
- Use an alternative source for drinking and cooking. Until you have guidance, use bottled water or water from a properly maintained filter certified for lead reduction. Use it for infant formula, beverages, and food preparation as appropriate.
- Ask about the source. Share the report with your utility and request information about the service line and recommended follow-up. A plumber can inspect accessible pipes and fixtures, but should not assume the source without evidence.
- Consider repeat testing. Test again after repairs or treatment changes, following the laboratory’s collection directions. Confirm that the sample comes from the faucet and water condition you want to evaluate.
- Address exposure concerns with a health professional. If you think a child or another household member may have been exposed, contact a healthcare provider or local health department. A water test alone does not diagnose lead exposure.
Flushing a tap for a period of time may lower lead in water that has been sitting in pipes, but it is not a permanent fix and may not work in every plumbing setup. Follow your utility’s advice. Do not boil water to remove lead; boiling can concentrate it as water evaporates.
Choosing a Filter That Reduces Lead
If you use a filter, verify that the exact product is independently certified for lead reduction. Look for a certified performance claim under NSF/ANSI 53 for lead reduction or, for a reverse osmosis system, NSF/ANSI 58 with a lead-reduction claim. Certification applies to specific models and claims, not automatically to every product in a category. Check the certification listing and the manufacturer’s performance data.
Filters require correct installation and timely cartridge replacement. A neglected cartridge may perform poorly, and a filter that reduces chlorine or improves taste does not necessarily reduce lead. Keep a record of installation dates, follow the manufacturer’s schedule, and retest if advised after changing equipment or repairing plumbing.
Lead Testing Checklist for Homeowners
| Step | What to Check |
|---|---|
| Before testing | Ask about service-line materials and select a certified drinking-water laboratory. |
| During collection | Use the correct tap, sample type, container, and stagnation period specified by the lab. |
| After results | Confirm units and detection limits, discuss findings with the utility, and follow up as needed. |
| For ongoing protection | Use a filter certified for lead reduction and replace its cartridge on schedule. |
Make Testing Part of a Safer Water Routine
Testing provides information that taste and appearance cannot. For South Florida households, it is one part of understanding water quality alongside utility reports, plumbing inspections, and appropriate treatment. If you are unsure how to arrange a test, start with your water provider or local health department, then use a certified laboratory and follow its instructions carefully.
Keep copies of test reports and note the faucet, collection method, and date for each sample. This makes it easier to compare results after plumbing work or filter changes. Blog Water News offers more practical guidance on water quality, filtration, and maintenance for homeowners and businesses.