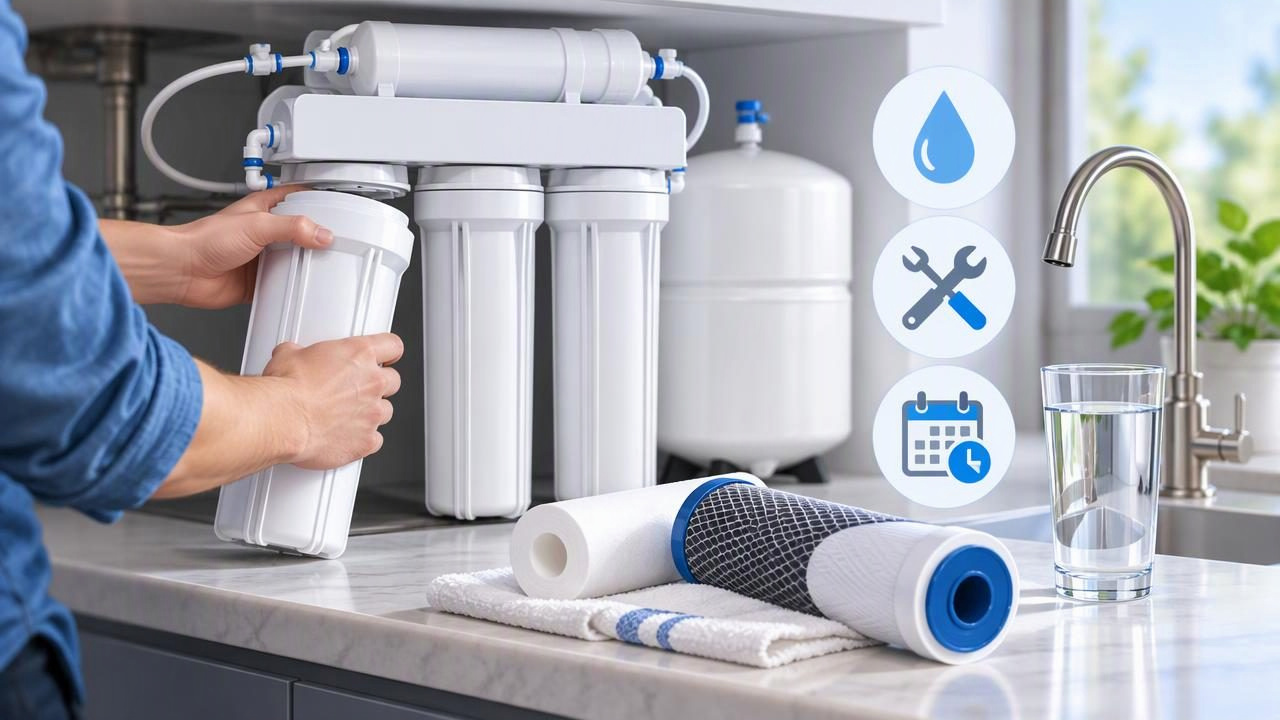
A reverse osmosis (RO) system can provide crisp-tasting drinking water, but it needs regular care to work as intended. Filters capture sediment and chemicals, while the membrane reduces many dissolved substances. As those components collect contaminants or wear out, water flow and performance can suffer. A simple maintenance routine helps protect your system, prevent leaks, and keep replacement costs predictable.
These reverse osmosis system maintenance tips explain what to check, when to change common components, and which problems are better left to a water treatment professional. Because systems and local water conditions vary, always use your manufacturer’s instructions as the final guide.
Why RO System Maintenance Matters
Most under-sink RO systems use multiple stages. Sediment and carbon prefilters help protect the membrane by catching particles and reducing chlorine or other substances that can affect its performance. The membrane then separates many dissolved contaminants from the water. A final carbon filter may improve taste before water reaches the faucet.
When filters become clogged or exhausted, the system may produce water more slowly, make unusual sounds, or deliver water with an unexpected taste or odor. An overdue prefilter can also put extra strain on the membrane. Routine maintenance does not guarantee that every contaminant is removed, but it helps the system operate according to its design and the manufacturer’s specifications.
Know Your Filters and Their Typical Replacement Intervals
There is no universal replacement schedule for every home. Filter life depends on the model, household water use, incoming water quality, and the amount of sediment or chlorine in the supply. South Florida homes can differ considerably, so use the intervals below as planning estimates—not substitutes for product guidance or water testing.
| RO component | Common planning interval | What it does |
|---|---|---|
| Sediment prefilter | About 6–12 months | Captures dirt, rust, and suspended particles |
| Carbon prefilter | About 6–12 months | Reduces chlorine and some taste- or odor-causing substances |
| RO membrane | About 2–5 years | Reduces many dissolved substances, depending on the system |
| Post-carbon filter | About 6–12 months | Polishes water before it reaches the faucet |
Some units combine filter stages or use cartridges with different service lives. Keep the product manual, cartridge part numbers, and installation date together so you can identify the correct replacements without guessing.
Build a Simple Maintenance Routine
Check the system once a month
Set aside a few minutes to look under the sink and around the drinking-water faucet. Check for moisture, drips, loose tubing, or corrosion. Make sure the storage tank and hoses are not being compressed by cleaning supplies or other stored items. If your system has a filter-life indicator, note its status, but do not rely on a timer alone when the manufacturer also recommends checks based on water use.
Pay attention to the water itself. A change in taste or odor, cloudy appearance that does not clear, or a noticeable drop in flow can signal that the system needs attention. These signs do not identify a specific contaminant; they are prompts to inspect the equipment and, if needed, test the water.
Record every filter change
Write down the date, filter stage, and replacement part number whenever you service the unit. A phone reminder or a label inside the cabinet can make the schedule easier to follow. If you move into a home with an RO system and cannot find service records, consider replacing the filters and having the system inspected before relying on it.
Replace Filters Carefully
Many homeowners can change twist-off cartridges themselves, but the procedure varies by brand. Before starting, read the instructions and buy cartridges made for the exact system. Generic filters may fit physically without being tested or certified for the same performance. For contaminant reduction, look for system-level claims supported by relevant third-party certification, such as NSF/ANSI standards, and confirm the specific claim applies to the model.
- Turn off the water supply and close the tank valve as directed in the manual.
- Relieve pressure using the system’s specified procedure, then place a towel or shallow pan beneath the housing.
- Remove and replace cartridges in the stated order. Avoid touching clean connections or leaving a housing open longer than necessary.
- Check that seals are correctly seated and hand-tighten housings as instructed. Overtightening can damage parts.
- Restore the water supply slowly, inspect for leaks, and flush the new filters for the time specified by the manufacturer.
Do not skip flushing. New cartridges can contain harmless carbon fines or air that need to be rinsed out. Some systems also require discarding the first tank or tanks of water after service. Follow the exact startup instructions for your unit.
Sanitize the System When Recommended
Replacing cartridges is not the same as sanitizing the storage tank and water lines. Manufacturers may recommend sanitizing during filter changes, after a long period without use, or following certain repairs. Use only the approved procedure and the specified product and concentration. Incorrect chemicals or amounts can damage components or leave an unwanted residue.
If the manual’s sanitizing directions are unclear, or if the unit has a complex manifold or separate ultraviolet stage, ask a qualified technician to service it. A professional can also check connections and verify that the system is assembled correctly after maintenance.
Watch for These Signs of an RO Problem
- Slow production: A clogged prefilter, low incoming pressure, cold feed water, or a worn membrane may reduce output.
- Constant drain flow: A malfunctioning valve, incorrect pressure, or another component issue may prevent the system from shutting off normally.
- Leaks or dampness: Shut off the feed-water valve if safe to do so, dry the area, and identify whether moisture returns. Persistent leaks deserve prompt attention.
- Changed taste or odor: A postfilter may be due for replacement, but source-water changes or plumbing issues can also affect taste.
- Repeatedly cloudy water: Air bubbles can briefly make freshly filtered water look cloudy and usually clear from the bottom upward. If cloudiness persists, investigate rather than assuming it is normal.
A handheld TDS meter can show a change in total dissolved solids, but it cannot identify individual contaminants or certify that water is safe. Use a certified laboratory or an appropriately qualified water professional when you need to evaluate a specific concern, such as lead, PFAS, or microbial contamination.
South Florida Considerations
Municipal water and private well water are not identical, and conditions can vary by location and source. Chlorine may affect taste and can be relevant to carbon-filter service life. Well owners may also need to consider sediment, sulfur odors, iron, or other site-specific issues. Hard water can create scale on plumbing and appliances, but an RO drinking-water unit is not a whole-house water softener.
If your household notices a sudden change after utility work, flooding, plumbing repairs, or a change in well conditions, contact your water provider or arrange appropriate testing. Do not assume an under-sink RO system treats every possible problem. Treatment should match the test results and the system’s certified capabilities.
When to Call a Water Treatment Professional
Get help if you cannot stop a leak, the system repeatedly loses pressure, water continues flowing to the drain, or new filters do not restore normal performance. A technician can check feed pressure, tank pressure, tubing, shutoff valves, and membrane condition. Professional service can be especially helpful when the installation is older, the model is unknown, or the system serves a busy household and reliable output matters.
Before booking service, note the system’s brand and model, when filters were last changed, what symptoms you have noticed, and whether the water source is municipal or a well. These details can make troubleshooting more efficient.
Quick RO Maintenance Checklist
- Inspect the cabinet, tubing, faucet, and tank for leaks each month.
- Track filter dates and follow the model-specific replacement schedule.
- Use the correct cartridges and flush them as directed.
- Sanitize only according to the manufacturer’s procedure.
- Investigate persistent taste, odor, flow, or appearance changes.
- Use appropriate water testing for contaminant concerns; do not treat a TDS reading as a safety test.
Consistent care helps an RO system deliver dependable drinking water and may prevent small issues from becoming expensive repairs. For more practical guidance on water quality and home treatment, explore the educational resources from Blog Water News.